

Issue #12, home alone
Let's Get Lost, May 25, 2024

It’s Wednesday evening and I’m writing this from our back deck. It’s sunny and warm, but not too warm. I am the only one home and aside from the sound of children playing in the campground, the only other noise is bird chirping.
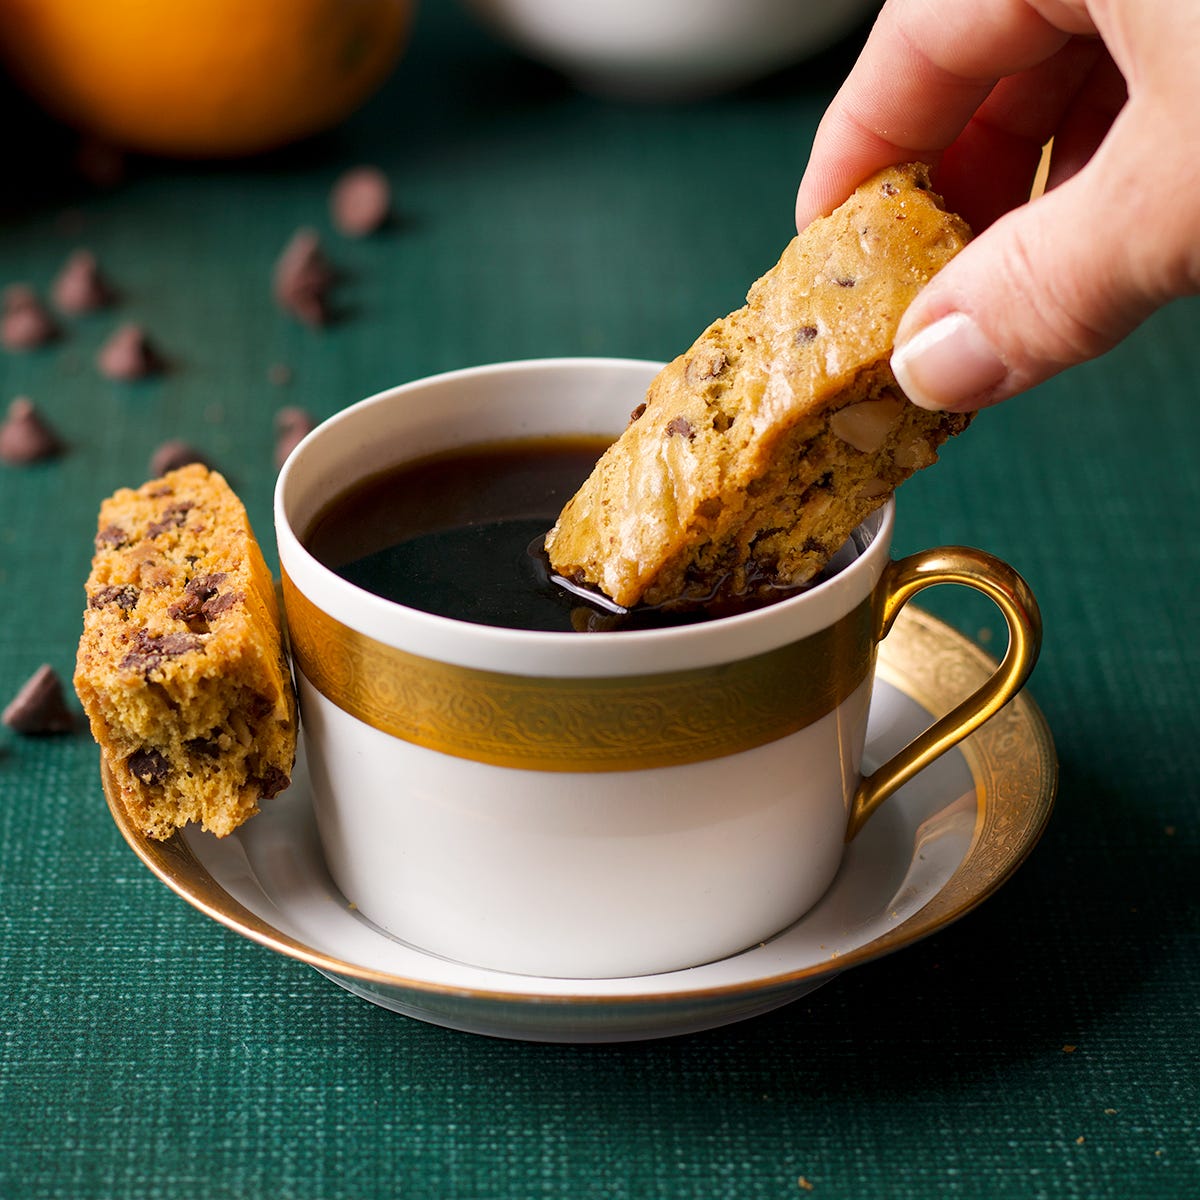
Someone has a campfire going and while the breeze gets a little over excited from time to time and frantically blows my hair into my face, it’s mostly calm and gentle. My dinner is a bowl of sweet potato chips and, because I just finished the photoshoot, the chocolate orange biscotti from the photos in this newsletter and that is just fine with me.
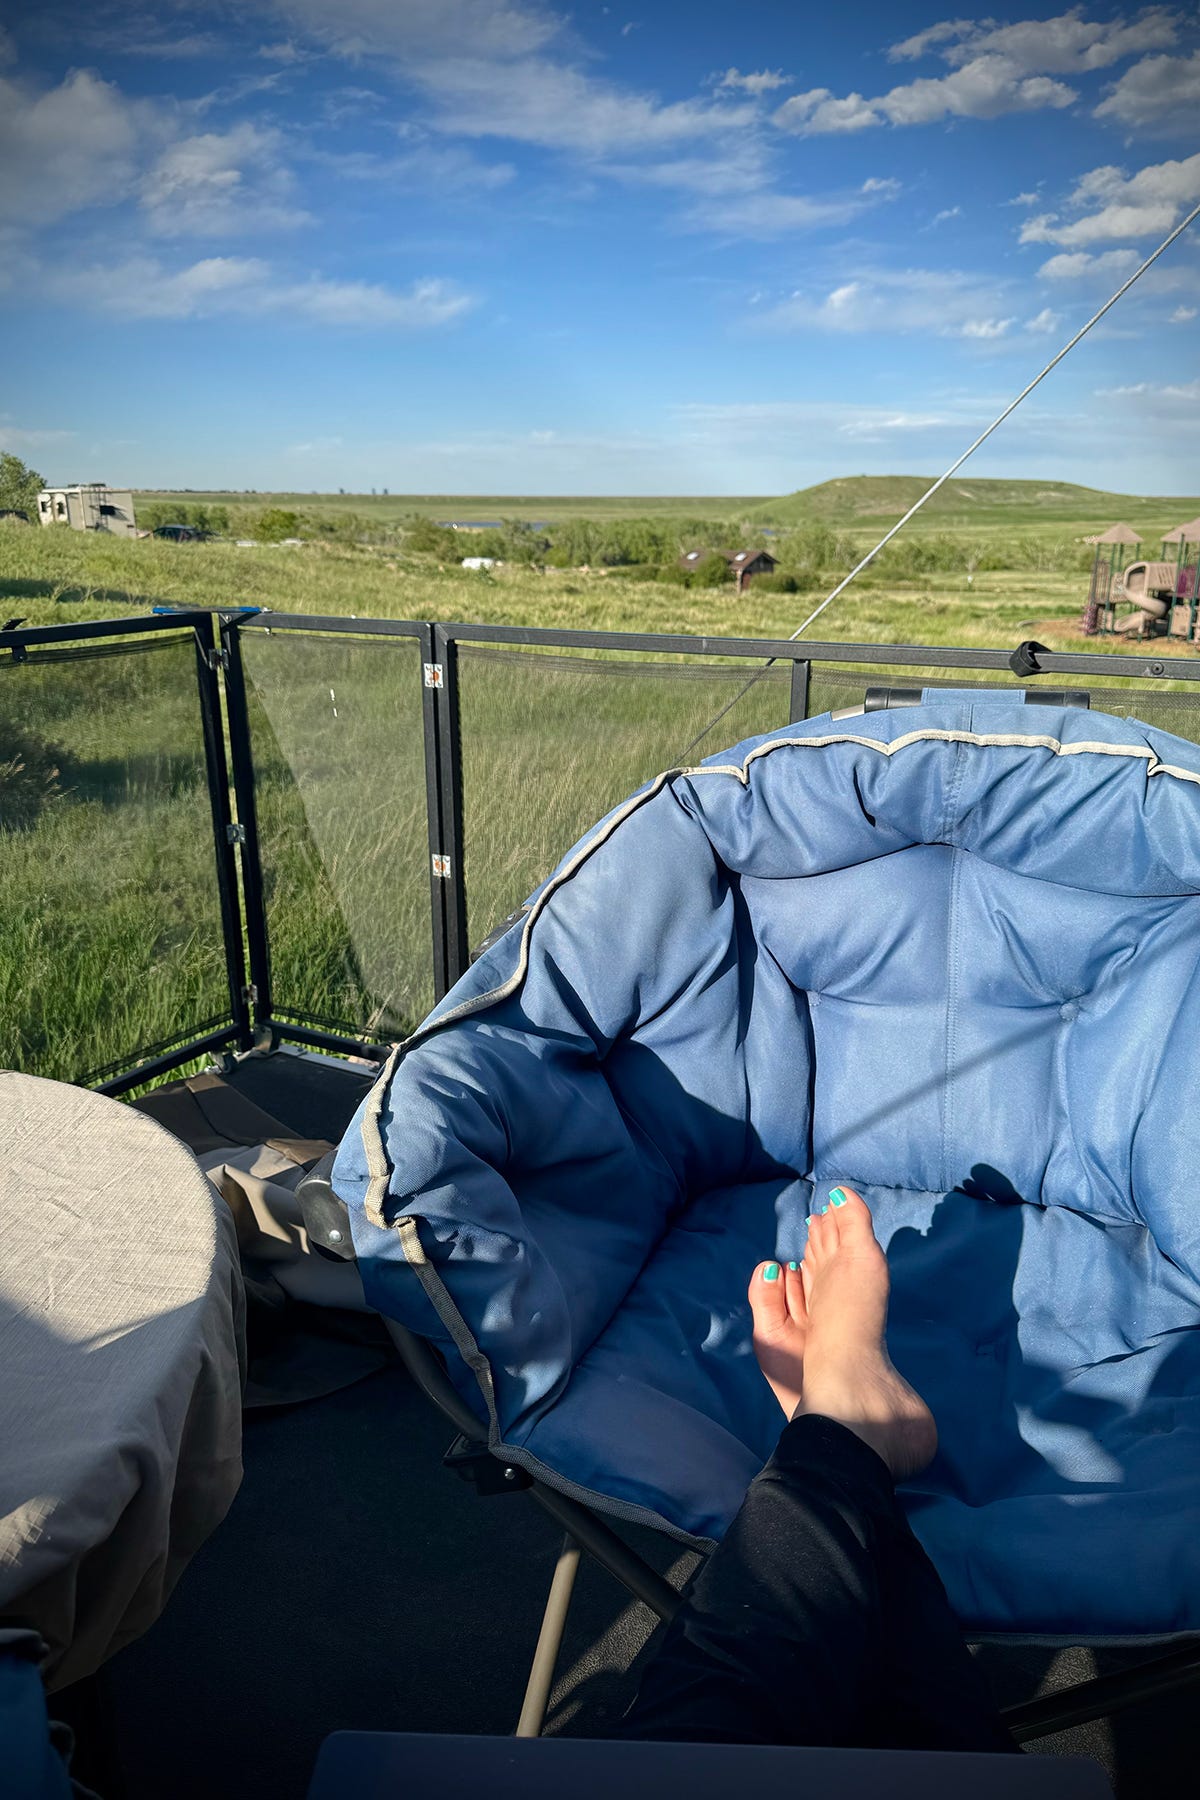
Man I love being home alone.
When people find out we live in an RV, one of the first questions/ comments is something along the lines of, “you two must really like each other”…
And we do. Steve and I spend nearly all our time in the same space. We live and work, day in and day out, in 400 square feet. When we’re not inside, we’re usually out doing something together. We love being on the road, in the truck or on the bike. Living and traveling in close quarters is not generally something we find difficult. It’s how we like it.
But also, I love being home alone.
When the kids were young and our house was whirlwind of chaotic activity, getting a few hours alone at home was like stepping into cool water on a hundred degree day. I would let it wash over me and sink down deep into the quenching relief of silence and space.
I have also been alone in times of profound sadness when the space around me felt heavy, oppressive, and restrictive - more like quicksand then cool, clear water.
Earlier this week, I had a long conversation with a woman who is learning how to be alone without being lonely. Having never lived on my own (my husband and I married straight out of high school and went directly from our parents’ house to our first apartment), I have very little to offer her in the way of shared experience.
But I do know that loneliness isn’t reserved for those who are alone and being alone is sometimes the opposite of being lonely.
Maybe the key is in learning how to use the time to ourselves, however abundant or scarce, to connect to ourself. To think, breath, feel, and act in whatever way we choose because we are the only one in the room.
What do you most want to do when no one is watching? What do you allow yourself when there is only yourself to please?
Does the time fill you in a way that feels as essential to your wellbeing as air? Or does the absence of others suck all the energy from the room and cause you to lose all motivation?Are there demons in the silence that seize the opportunity to take center stage? Is it harder to avoid eye contact with that big fat elephant in the room when there’s no one else to look at? Or, is silence the only way you can think, feel, breath, and make sense or your own experience?
Yes, yes, yes, yes, and yes.
I went to a concert with a friend earlier this week and listened to a man with a harmonica and a guitar sing you can’t go around what you gotta go through and, I mean, obviously. But also, goddamn I needed to hear that.
And also, if you haven’t read it recently or ever, The Journey by Mary Oliver:
“…But little by little,
as you left their voices behind,
the stars began to burn
through the sheets of clouds,
and there was a new voice
which you slowly
recognized as your own…”
I’d guess these poets gathered up their insight in moments of silence, and passed them along in the hope that we would have a moment quiet enough to take it in.
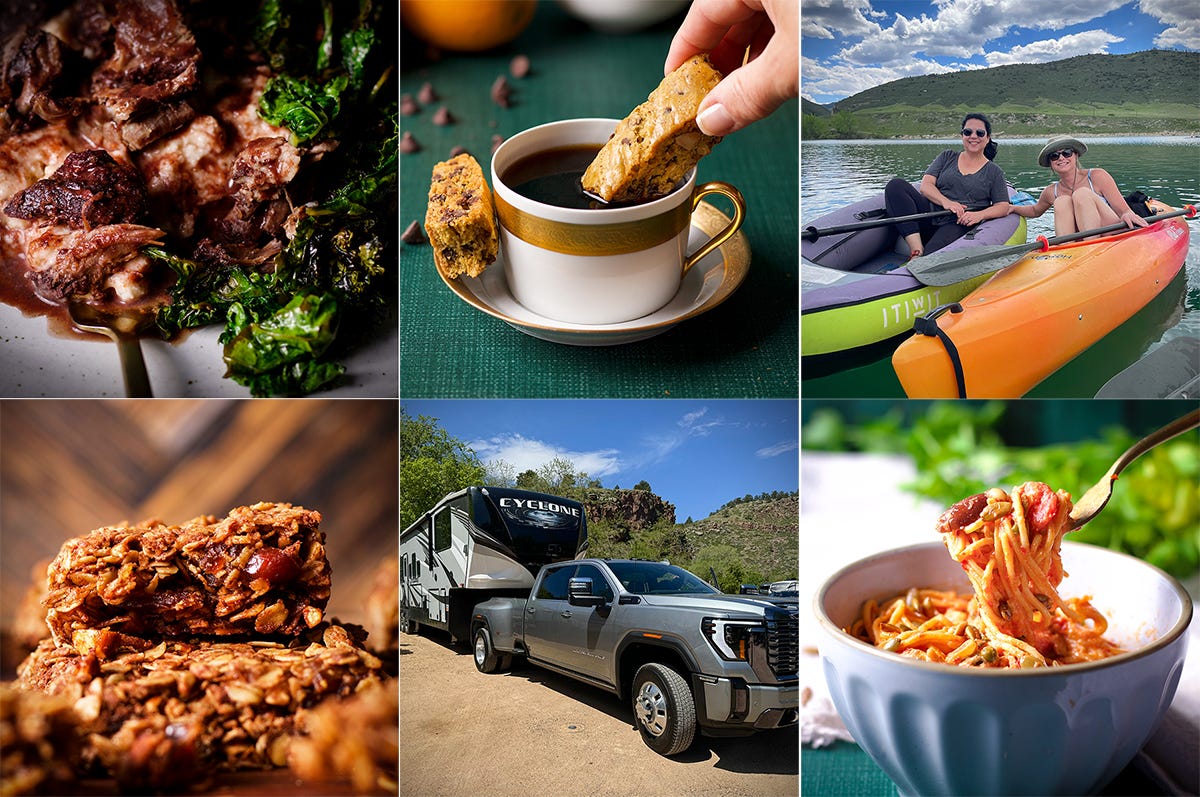
The week in photos


I know I’ve said this before but I really am so terrible at remembering to take photos when I’m enjoying the people I’m with. So, it’s a triumph that I remembered to take one while enjoying dinner with friends who cooked an incredibly delicious meal for us and let us stay way too late because we couldn’t pull ourselves away from the conversation.
We are at Bear Creek Lake Campground in Colorado which just happens to be minutes from my friend Charlene. Last Sunday, we took our kayaks out on the lake and I hope you can’t tell in the photo but I am SO tired because of the aforementioned staying out too late with friends. Worth it. Also, loving this campground and being so close to one of my favorite people.
This little beggar sat on our steps staring hopefully up through our screen door for at least 10 minutes. Perhaps he’s learned that patience is a virtue, but it didn’t work with me and he eventually gave up to try his luck with other campers.
We recently redecorated our main living space (Full home tour, coming soon!), and it’s taken me weeks to get used to having a light colored couch (our last one was a deep orange), but it’s growing on me.
We bought a new truck! We weren’t planning to buy a new truck, but we took our old truck in for service and the dealership made us a great offer. And also, the new truck has massaging seats (I am not even joking) and now I’m not sure we are capable of traveling in a vehicle that doesn’t give us a back rub while we drive.
The motorcycle got a facelift! Steve spent the past couple of weeks restoring our Indian motorcycle to it’s former glory and wow does it look great. I really, really wish we had taken a before photo so you could see the difference, but it’s gone from looking like a well loved but very used bike to looking like something we just rode off the showroom floor. Just in time for summer riding!

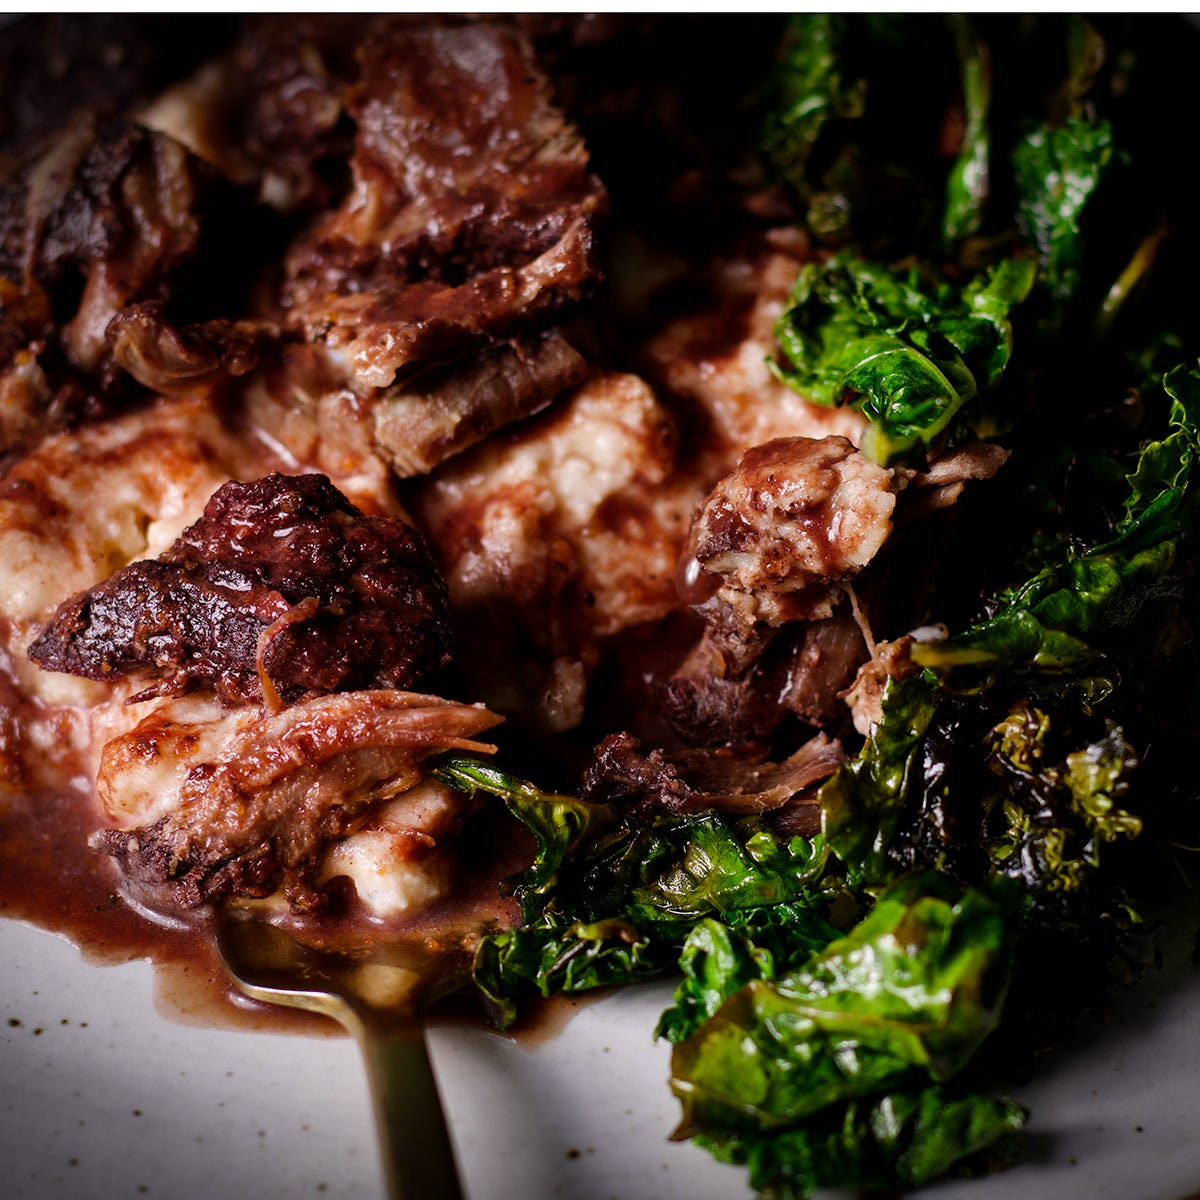
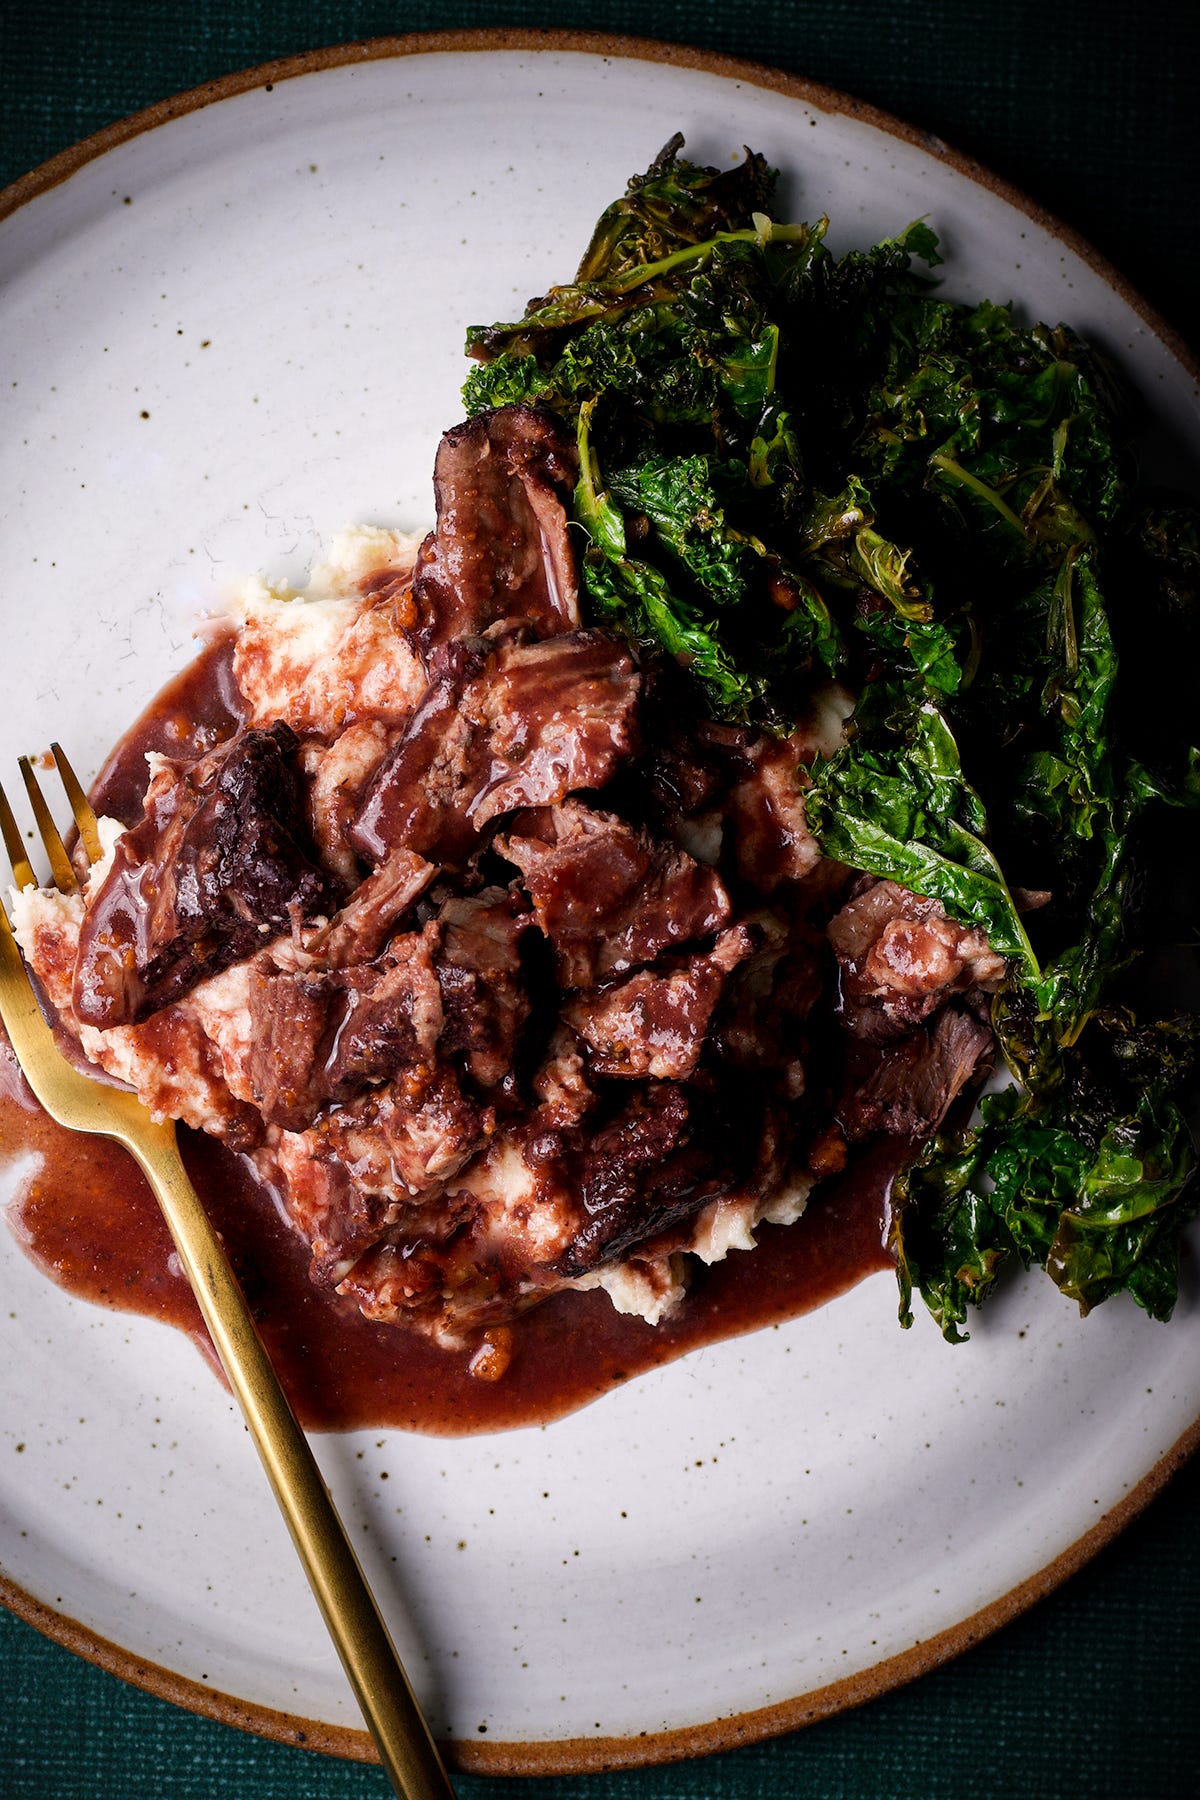
Cabernet Braised Short Ribs with Sautéed Garlicky Greens
Our oldest daughter is also my assistant and because she works remotely her job involves writing, talking, and looking at food that she’s not around to eat. Cruel and unusual punishment for someone so important to me.
So, when we are in town I try to feed her and last week she came over for these short ribs and this orange poppyseed cake. The only thing that would have made the evening better is our other daughter being there as well. ❤️
These short ribs are braised in an entire bottle of Cabernet Sauvignon until they are fall-off-the-bone tender. Served over cream cheese mashed potatoes with crispy garlicky sautéed greens, this is the kind of meal that will impress dinner guests but that you will also want to make on a run-of-the-mill Tuesday with no one to impress except yourself.
For the short ribs:
6 meaty short ribs (about 4 pounds)
Salt and ground black pepper
2 tablespoons extra virgin olive oil
1 large yellow onion
1 carrot, peeled and cut into 1/2 inch pieces
2 celery stalks (about 4 ounces), trimmed and cut into ¼-inch slices
4 large garlic cloves, peeled and minced
2 tablespoons tomato paste
3 anchovy fillets or 1 generous teaspoon anchovy paste
1 tablespoon dried thyme
One 750 ml bottle Cabernet Sauvignon
6 fresh parsley stems
The peel cut from 1 orange: Cut the zest (the orange part only) from an orange so you have several long strips
1 to 3 cups low-sodium chicken stock (enough to come halfway up the sides of the short ribs in whatever pan you are cooking them in)
Cream cheese mashed potatoes, for serving
For the sautéed garlicky greens:
3 tablespoons extra virgin olive oil
3 garlic cloves, thinly sliced
1/4 teaspoon red chile flakes (optional)
2 bunches kale (or any kind of dark leafy greens), rinsed and dried, ribs and stems removed, leaves torn into 2 to 3 inch pieces
Salt and ground black pepper, to taste
1-2 tablespoons of lemon juice, to taste
To make the short ribs
Preheat oven to 325 degrees F. Trim any excess fat from the ribs; don’t go crazy here. You want to leave most of the fat - just trim off any pieces that are excessive. Sprinkle both sides of the ribs with salt and pepper.
In a 5-quart stockpot, Dutch oven, or braiser with a tight-fitting lid, warm the oil over medium-high heat. Add as many short ribs as will fit comfortably in the pan (don’t overcrowd it) and let them cook until they release from the bottom of the pan without force. Turn the ribs and brown on the other side. If there is a lot of exposed meat on the ends of the ribs, brown the sides as well. Remove ribs from the pot and place on a plate. Repeat with remaining ribs.
Pour off all but about 2 tablespoons of the fat in the pan. Reduce heat to medium and add the onion, carrot, and celery, scraping up any browned pieces of meat from the bottom of the pan. Sauté, stirring often, until the vegetables are lightly browned.
Add the garlic, tomato paste, anchovies and thyme, and cook, stirring constantly for another 1 to 2 minutes. Raise heat to high and pour in the entire bottle of wine. Use a spoon to scrape along the bottom of the pan to release any brown bits - there’s a lot of flavor in those bits.
Bring to a boil and cook until the wine has reduced by half, about 12 to 15 minutes.
Add the parsley and strips of orange zest. Return ribs to the pot. Add enough chicken stock to bring the liquid halfway up the ribs. Bring the stock to a boil, cover the pot with the lid, and place in the oven. Cook for 2 to 2 1/2 hours, until the meat is tender enough to pull easily from the bone.
Remove the ribs from the pan and set them on a plate.
Strain the Cabernet sauce through a fine-mesh sieve, pressing on the solids to squeeze out as much liquid as you can. Use a large spoon to skim any excess fat from the surface of the sauce. (If you have time to make this in advance, place the sauce in the refrigerator for a few hours. The fat will harden on the top of the sauce and you can easily scoop it off.)
Pour the sauce back into the pan and set it over medium-high heat. Let the sauce boil until it’s reduced and thickened slightly, 5-8 minutes.
When cool enough to handle, shred the meat into bite-size pieces, discarding any visible fat or gristle.
Serve the meat over cream cheese mashed potatoes, smothered in the cabernet sauce.
To make the sautéed garlicky greens:
Add the oil to a large skillet and set it over medium heat. Add the garlic and chili flakes and sauté for 2 minutes, until the garlic is just beginning to brown.
Add the kale in batches and toss to coat with oil. As it cooks, it will shrink and you can add more. Continue until all the kale has been added. Cook, stirring frequently, until the kale is wilted and beginning to brown in places. The brown parts will be crispy, so if you want more crispy parts, cook it longer. If you want the kale to be soft and not crispy, remove it from the heat as soon as it begins to brown.
Remove from the heat and season the kale with salt and pepper, and a tablespoon or two of lemon juice.
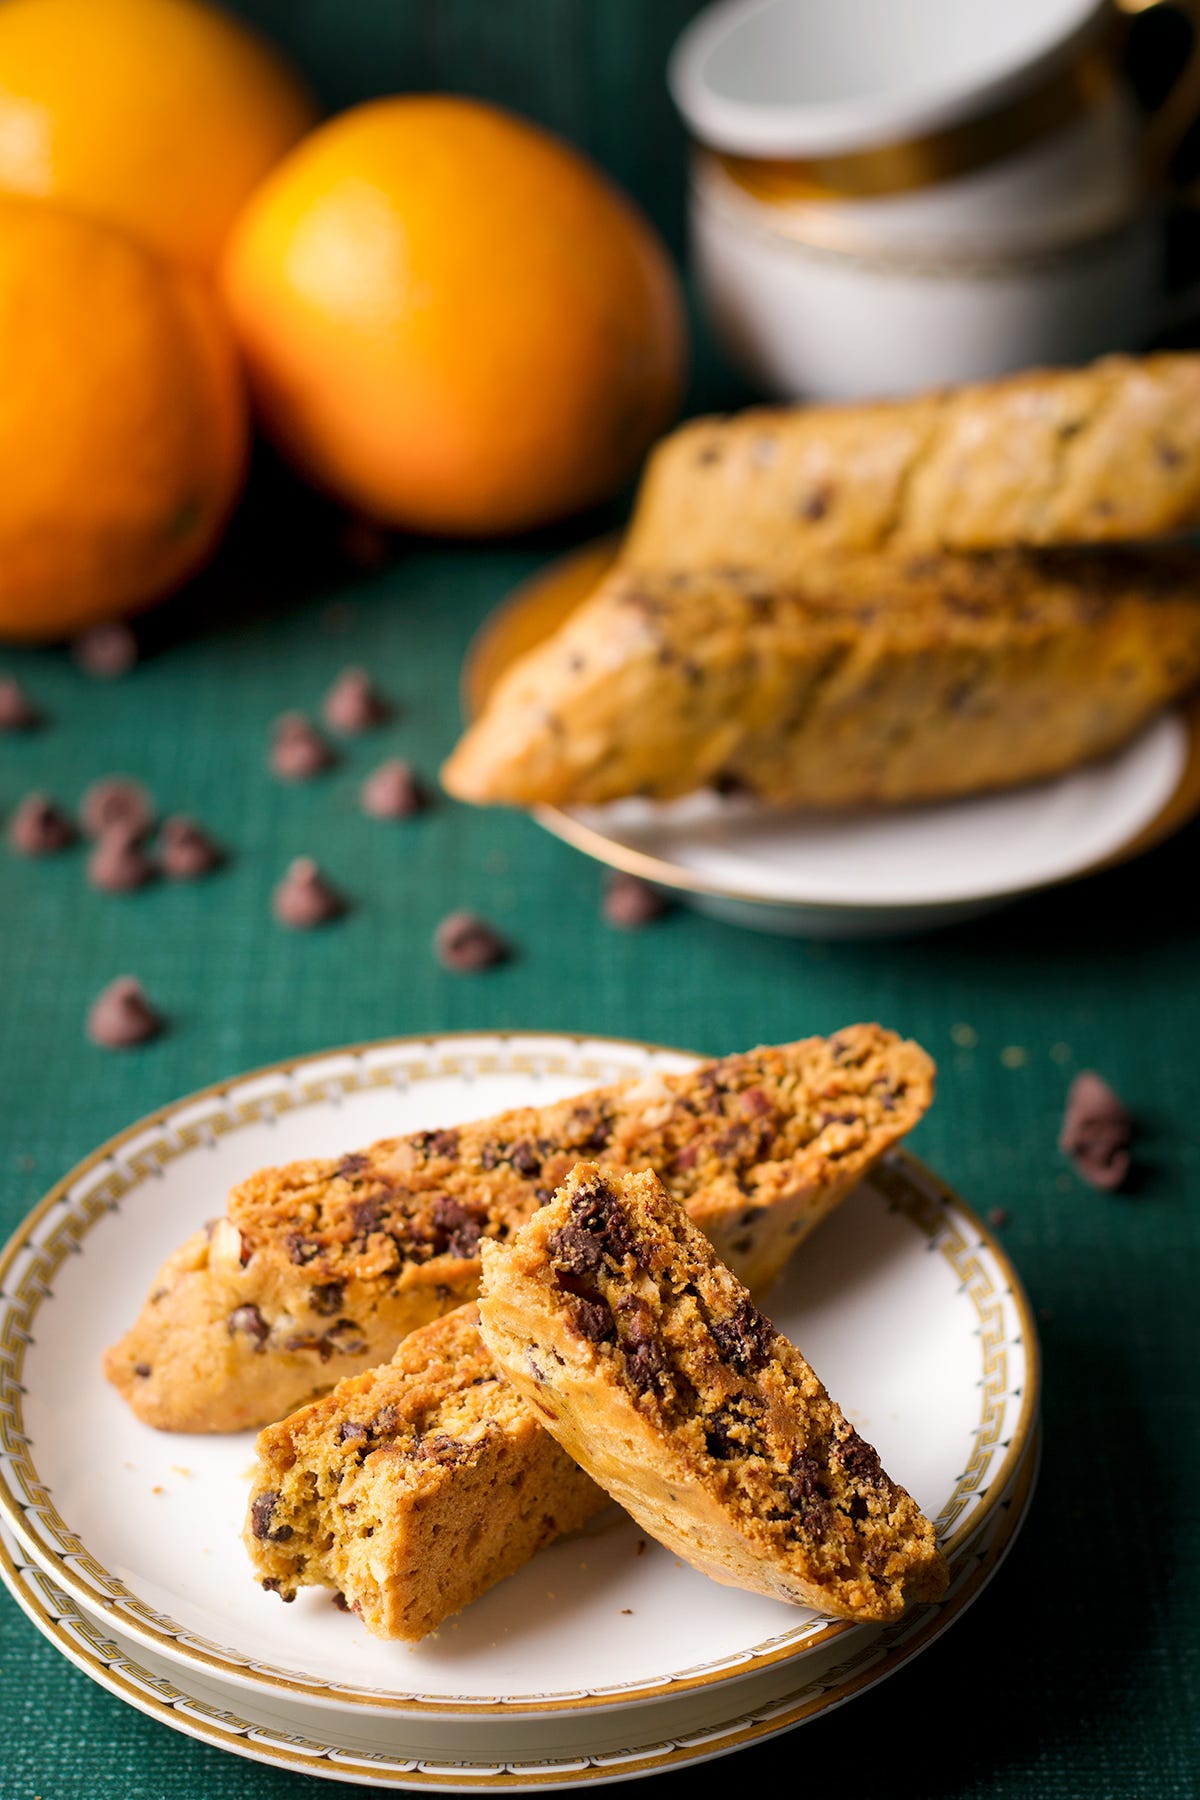
Chocolate Orange Biscotti
A couple of weeks ago our oldest daughter took us to a delightful German bakery near her apartment. The glass cases were filled with a huge variety of pastries, all of them looking beautiful and delicious, and I wanted to try one of everything.
Instead emptying our bank account on an amount of sugar that might be lethal, I employed a modicum of self control and selected a cinnamon bun and a few different kinds of biscotti.
One of the biscotti flavors I chose was chocolate chip and orange and it was my favorite. I recreated it just so I can bake these any time I want, especially when we are no longer just a short drive from the German bakery.
I added some cardamom and black pepper both of which compliment the orange and chocolate flavors and give each bite a delightful subtle kick.
Makes about 24 biscotti.
1/2 cup unsalted butter, at room temperature
3/4 cup brown sugar, light or dark
1 tablespoon orange zest
2 large eggs + 1 large egg yolk (save the white)
1 teaspoon pure vanilla extract or vanilla paste
1 tablespoon orange liquor (optional; I used cointreau)
2 cups + 2 tablespoons all purpose flour
1 1/2 teaspoon baking powder
1/2 teaspoon baking soda
1/2 teaspoon salt
1 teaspoon cardamom
1/2 teaspoon ground black pepper
1 cup chopped roasted, salted almonds (measure one cup after chopping)
1 cup mini chocolate chips or chopped chocolate (milk chocolate, semi-sweet, or bittersweet; if you want to bump up the orange flavor, use orange infused chocolate)
1 large egg white, lightly beaten
Add the butter, brown sugar, and orange zest to the bowl of a stand mixer fitted with the paddle attachment. Beat on medium speed, stopping to scrape down the sides of the bowl from time to time, until the mixture is aerated and has lightened in color, about 4-5 minutes.
Beat the eggs and egg yolk into the mixture one at a time, beating well to fully incorporate one before adding the next. Beat in the vanilla and orange liquor.
Add the flour, baking powder, baking soda, salt, cardamom, and black pepper to another bowl and stir with a wire whisk to combine. Add the dry ingredients to the rest of the ingredients and mix on low speed just until the dough comes together, but still looks shaggy.
Remove the bowl from the stand mixer and add the chopped almonds and chocolate chips. Stir to combine.
Transfer the dough to a sheet of plastic wrap, pat it into a rectangle, and refrigerator for at least 4 hours or overnight (or up to 3 days).
Heat the oven to 350 degrees F and line a baking sheet with parchment paper.
Let the dough rest at room temperature for about 20 minutes then divide it in half.
Working with one half at a time, shape each half into a log that’s approximately 12-inches long. Transfer the logs to the baking sheet and use your hands to press them down until they are about 2 1/2 inches thick.
Brush the tops of the logs with the beaten egg white.
Bake the biscotti for 30-35 minutes, until the tops of the logs feel firm when pressed and the bottoms are beginning to brown.
Remove the pan from the oven and let the biscotti rest for 20 minutes. Lower the oven temperature to 300 degrees F.
Place the logs on a cutting board and use a serrated knife to cut them crosswise into 1-inch thick biscotti.
Place the biscotti back onto the baking sheet, bottoms down, cut sides facing out.
Bake for 20-25 minutes, until the edges appear toasted, but the centers are still slightly soft. Let the biscotti cool completely on the pan.
Store biscotti in an airtight container at room temperature for up to 2 weeks.

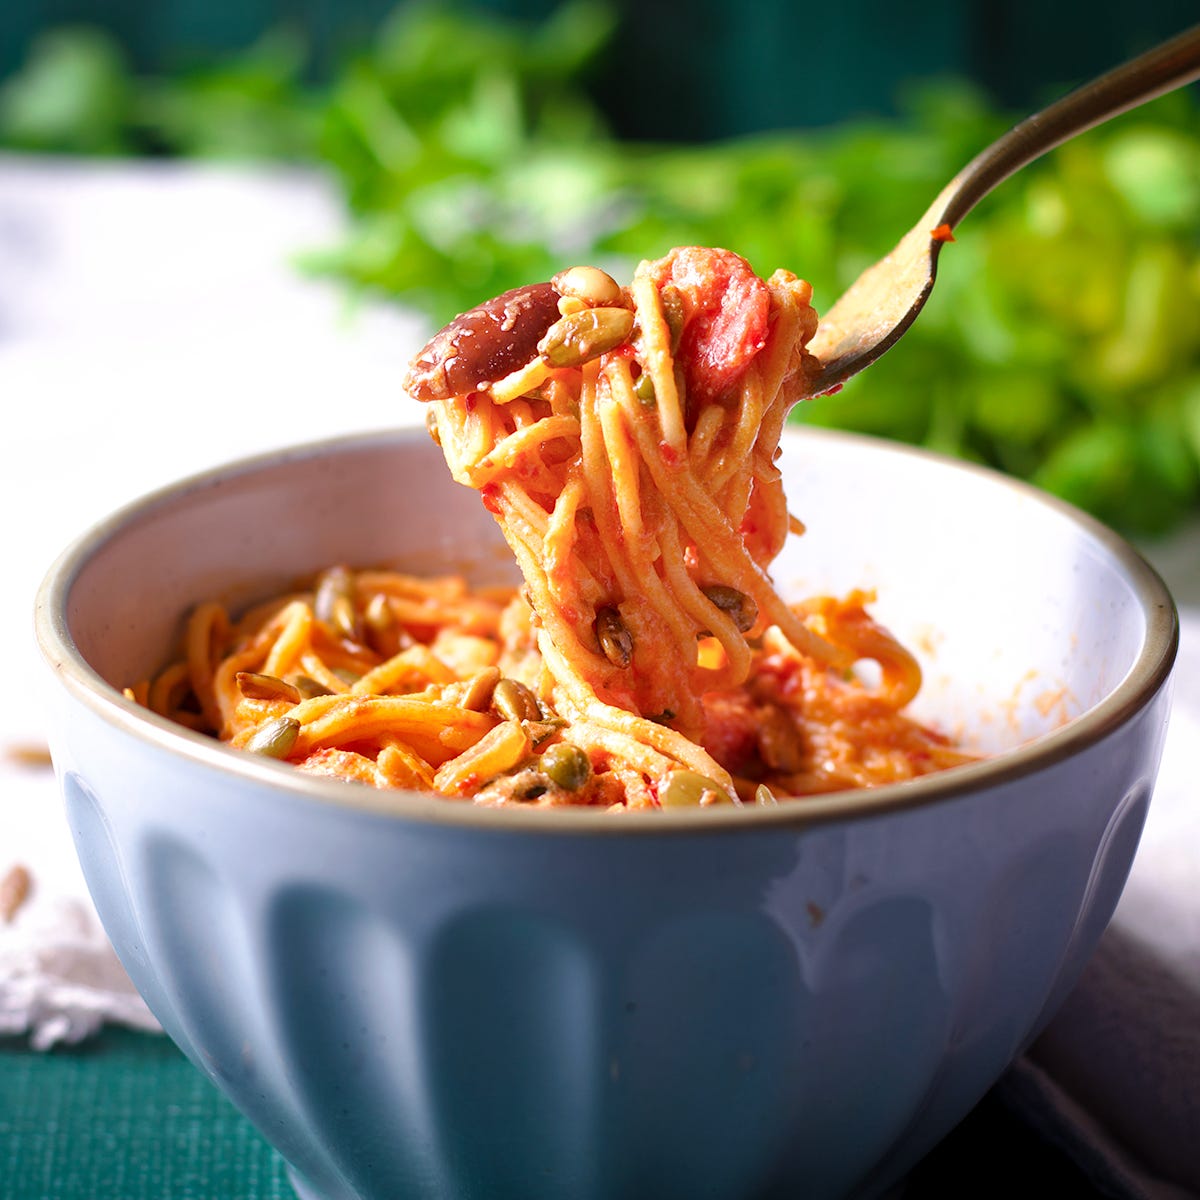
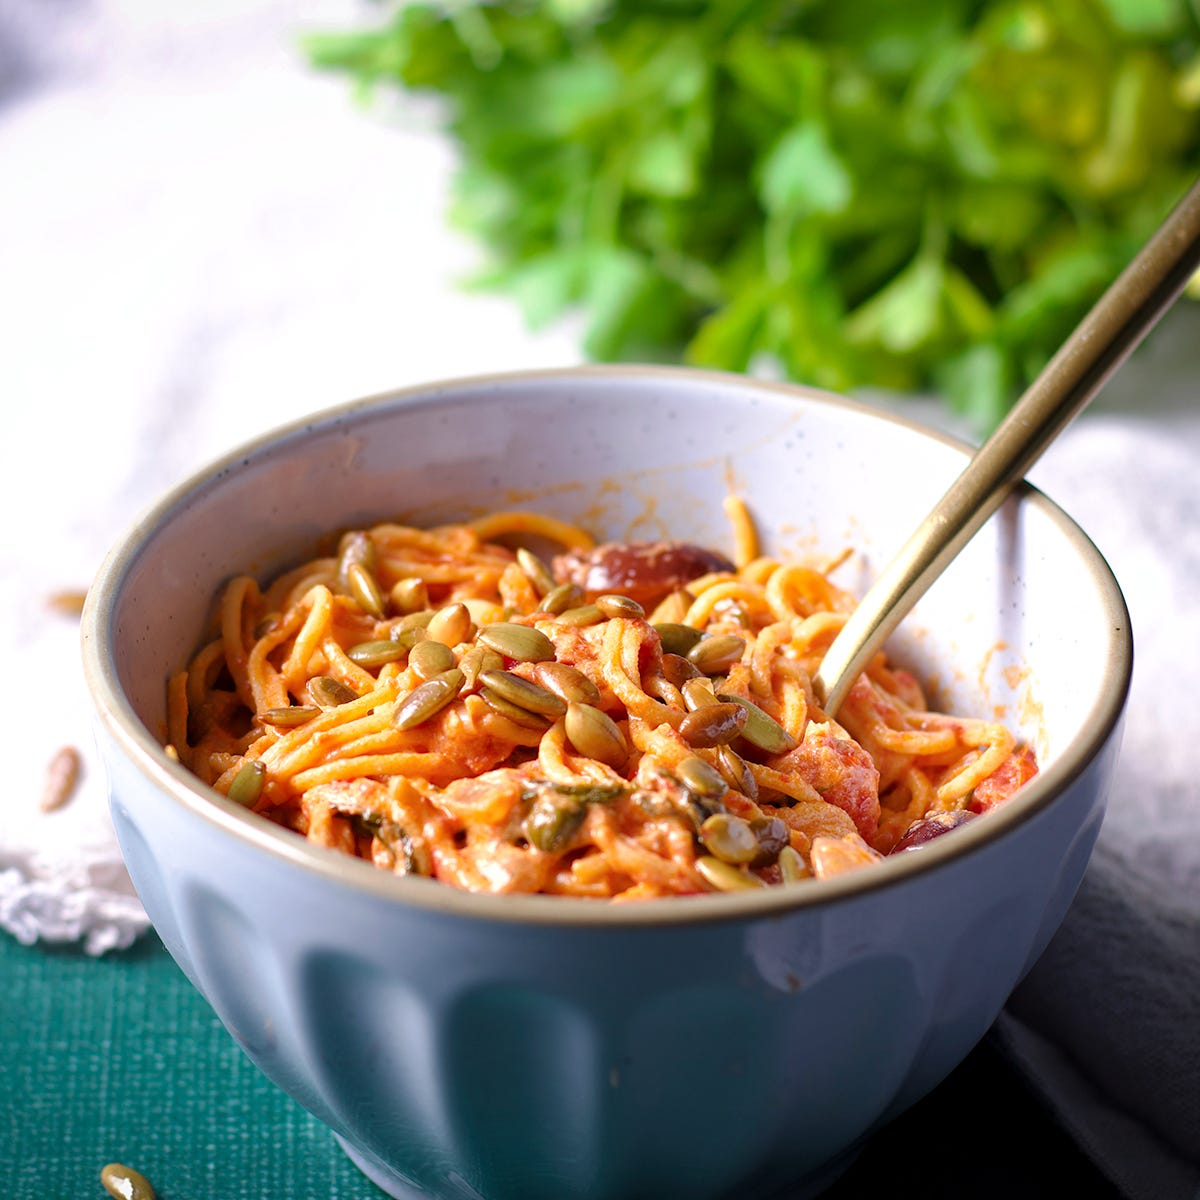
Spicy Harissa Pasta
Harissa is a North African spicy red sauce made from red chilies, garlic, vinegar, and spices. It is often used as a dip or marinade, and can add smokiness and heat to just about anything, from stews to eggs to braises to pasta.
In this recipe harissa is used to add intense, complex flavor to a meal that only takes about 20 minutes to prepare.
Harissa can be found in most major supermarkets, or order it online. I purchased the harissa for the pasta you see here from Trader Joe’s, which you can also order on Amazon (see the resources page for a direct link).
One important note: the heat level of harissa can vary significantly from brand to brand. So, be sure to taste whatever kind you have before deciding how much to add or you’re liable to burn your face off. I may, or may not, be speaking from experience. 😉
All of the amounts of these ingredients are approximate and just there for reference. This is a throw-it-together kind of dish and measuring is really not necessary.
2 tablespoons extra virgin olive oil
1 small yellow onion, peeled and chopped
4 cloves of garlic, roughly chopped
2 - 4 tablespoons Harissa, or however much you like depending on how spicy you like your pasta and how spicy your harissa is
2 cups cherry tomatoes, cut in half
1/2 cup olives, cut in half
1/4 cup non-pareil capers (non-pareil are simply the smallest, most tender variety of capers)
Fresh Italian flat leaf parsley
Pasta - any kind you like. I use homemade spaghetti noodles that I rolled out earlier in the week and hung to dry.
1/2 - 1 1/2 cups plain, unsweetened yogurt - stir in as much as you like to balance out the heat of the harissa
Toasted pumpkin seeds for serving (To toast pumpkin seeds, toss them with a bit of olive oil in a skillet and cook over medium heat, stirring often, until about half of the seeds are golden brown. Sprinkle with salt and store in an airtight container.)
Cook the pasta in boiling salt water until it’s slightly underdone then drain in a colander set over a bowl so you can reserve 2 cups of the pasta water. (It’s important to add enough salt to the water to make it taste salty. This will flavor the pasta.)
Add the olive oil and chopped onion and garlic to a large skillet, saucepan, or braiser. Cook over medium heat, stirring frequently, until the onion is soft and translucent and the garlic is starting to brown.
Add the harissa, tomatoes, olives, capers, parsley and 1 cup of the reserved pasta water. Simmer on medium high for about 10 minutes until the tomatoes have broken down and the sauce is thick.
Add the pasta and as much more pasta water as you need to finish cooking the pasta.
Remove the pan from the heat and stir in as much yogurt as you like, tasting as you go.
Serve with toasted pumpkin seeds.

This month’s featured cookbook is Baking with Dorie by Dorie Greenspan.
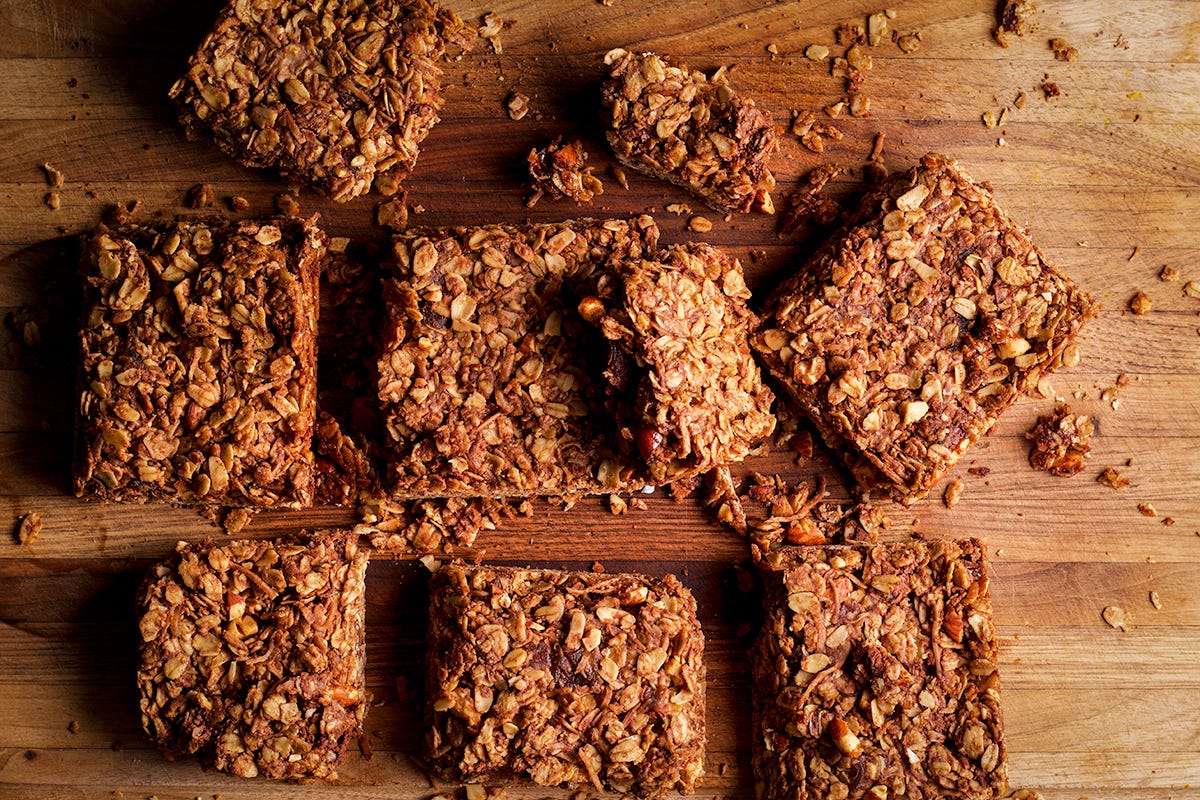
British Flapjacks with Coconut, Chocolate, Almonds, and Dates
Not having ever been to England (yet!), I’d never heard of traditional British flapjacks. To me, a flapjack is a pancake. But, apparently in Britain, it’s an oat packed cookie bar that’s a delicious cross between a granola bar and a chewy oatmeal cookie.
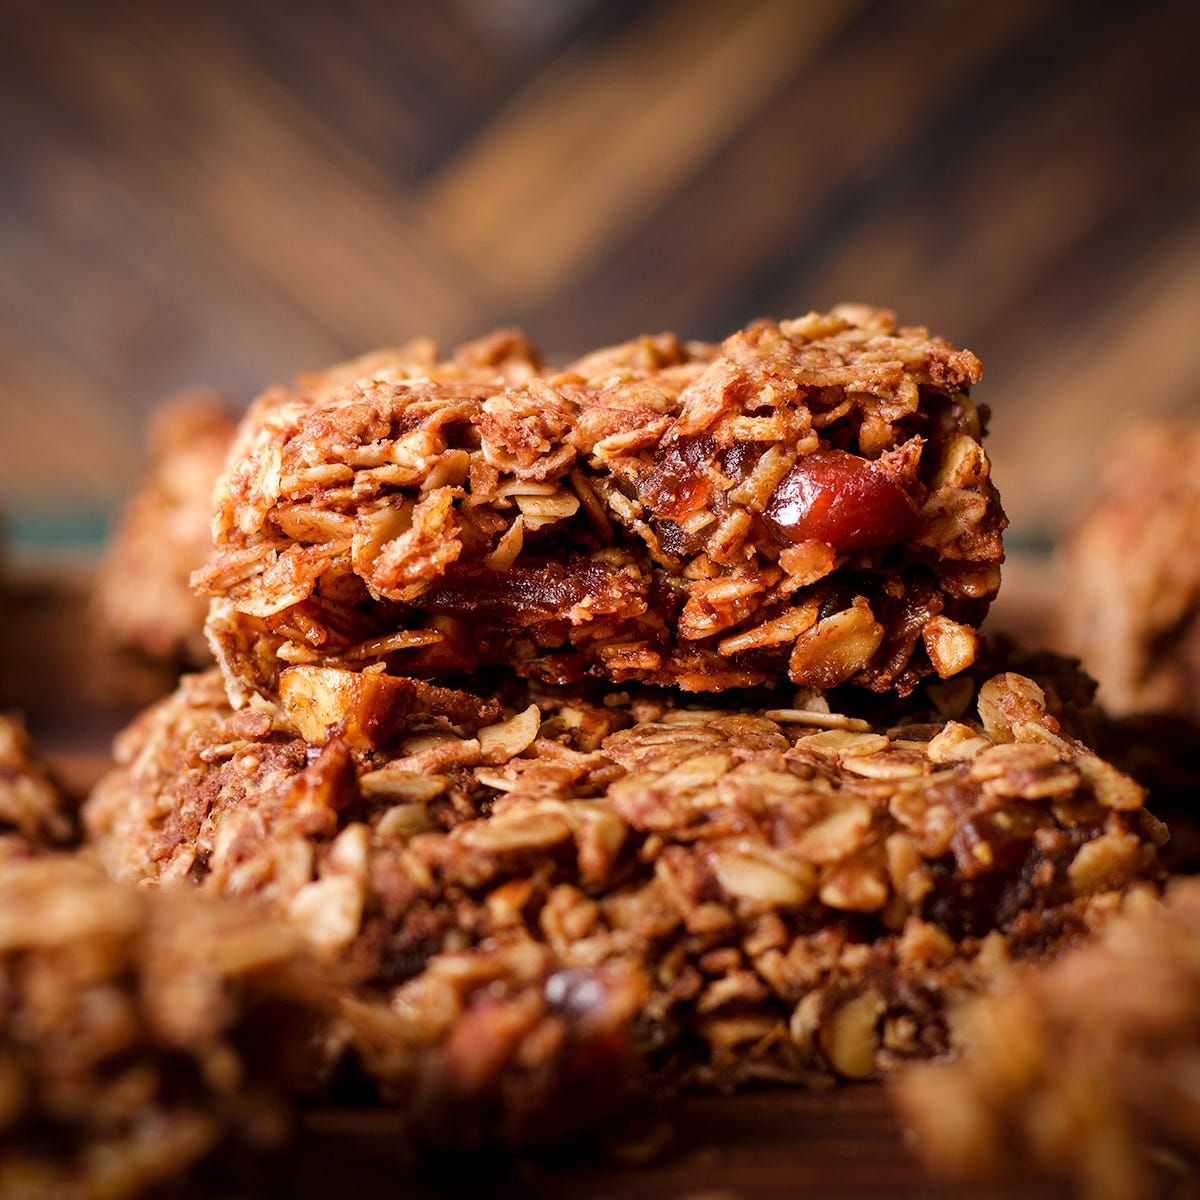
Baking With Dorie includes a recipe for Glenorchy flapjacks, which were inspired by a trip to Glenorchy New Zealand. Her version includes coconut, ginger, and raisins. I used her recipe as a jumping off point to create a version that includes coconut, almonds, chocolate, dates, with a hint of cinnamon and maple syrup.
I can tell you right now that these are going to be popular travel day snacks around here. Wrapped individually, these bars are perfect for on-the-run snacks, lunchboxes, picnics, camping trips, and cookouts. Also, perfect for lunch eaten in the truck in the middle of a long day moving an RV across the country. 🙂
Ingredients:
3 cups old fashioned (not quick cooking) oats
3/4 cup sweetened shredded coconut
1/2 cup chopped roasted, salted almonds (pulse in a food processor until the largest pieces are pea size)
1/2 cup chocolate chips or chopped chocolate
1/3 cup chopped dates (chop the dates, then measure)
1 teaspoon kosher salt (or 1/2 teaspoon table salt)
1/2 teaspoon ground cinnamon
8 tablespoons unsalted butter, at room temperature + more for buttering the pan
1/2 cup packed, dark brown sugar
1/4 cup maple syrup
Heat the oven to 350 degrees F and smear the inside of a 9-inch square baking pan with butter. Line the bottom and two opposite sides with parchment paper; cut a sheet the width of the pan and long enough to cover the bottom and overhang on the two opposite sides. The overhang will make it easy to lift the bars from the pan.
Add the oats, coconut, chopped almonds, chocolate chips, chopped dates, salt, and cinnamon to a bowl and stir to mix.
Add the butter, brown sugar, and maple syrup in a saucepan and set it over medium heat. Bring to a boil, stirring frequently. When bubbles cover the surface of the liquid, remove the pan from the heat and pour it over the dry ingredients. Stir everything together so that every oat is coated.
Scrape the mixture into the pan and use a rubber spatula, the back of a spoon, or your fingers to press it down into the pan. Place the pan in the preheated oven and bake for 24-26 minutes, until the tops of the bars are no longer shiny. If you press the top it will feel set but the center will feel soft. The bars will firm up as they cool.
Allow the bars to rest in the pan for about 5 minutes then run a butter knife or a flat metal spatula around the edges of the bars. Use a dough scraper or chef’s knife to score 16 bars; Score a cross that divides the slab into quarters then score 4 bars in each quarter.
Let the bars cool to room temperature then use the parchment handles to lift them from the pan and set them on a cutting board. Use the dough scraper or chef’s knife to cut through the scoring, slicing them into 16 bars. Store the bars in an airtight container for up to 5 days.
Camping trip planning resources
I know that some of you are campers and so I thought I’d share some of the tools and resources I use to plan our travel itinerary. The thing I love the most about these resources is the reviews from other campers.
Campendium is the place I start when I’m planning our year. I use it to narrow down options then read through all the camper reviews to get a better feel for each campground. Generous reviewers will often tell you things like the best spots in a park, road conditions going in and out of the park, the best places to get fresh water or find a dump station, or even the best place nearby to eat. It’s pure gold.
Campendium. The bulk of my time searching for campgrounds and boondocking locations is done on Campendium.
The Dyrt. Another user reviewed site with tons of campgrounds and other resources.
Campsite photos. I use this site a lot when I'm trying to select a good space for us at a particular campground. The site doesn’t always have the campground I’m looking for, but when it does, the photos of each campsite are incredibly useful.
Harvest Hosts. Harvest Hosts is a network of farms, wineries, breweries, restaurants, golf courses, and other businesses who allow RVers to park overnight. We've used Harvest Hosts many times while traveling across the country. In most cases it's a much better alternative to parking lots and rest stops.
RV Dumps. A comprehensive nation wide map of dump stations across the US.
Thanks for reading! If you are enjoying this newsletter, please tell your friends! Referrals earn free issues!
And, if you make something from this issue, have questions or anything you’d like to share, add a comment below. I ❤️ to hear from you.
Thank you for subscribing!
So much wonderful information here. We're in the process of planning trips with our adorable Teardrop, thanks for all the resources. And the inspiration to cook on the road!
Cuuuuute turquoise toenails!! 🩵 I know EXACTLY what you mean about loving being home alone! I NEED THIS on a regular basis and consider it a super healthy habit to incorporate this into our lives. You're so right about using the time to connect to oneself. There's nothing better than being at home, windows wide open, feeling the breeze and hearing the sounds of the world with no one else around. 🍃 Also, so jealous on the massage seats! One of my coworkers has them in her sedan so anytime she drives, we all fight over who will ride shotgun. Of course, I usually win. 😏 Lastly, where is your gold fork from? It's gorg. 😍